Unwanted noise can easily turn any room into a stressful environment – whether it is an office, a home theatre, a bedroom, etc. Noise-cancelling panels are an excellent choice for absorbing sound, reducing echo, and creating a productive environment. However, installing these is not easy, as placement, spacing, materials, and techniques are essential.
If you are planning to improve your room’s acoustics yourself, then choosing the right solution can make all the difference. With the proper installation strategy, you can easily enhance sound quality and reduce distracting noise without needing professional tools or construction expertise. Hence, if you are upgrading a recording studio or shared workspace or simply making your home more comfortable, then KTS noise-cancelling panels can make all the difference.
Why does choosing the right noise-cancelling panels matter?
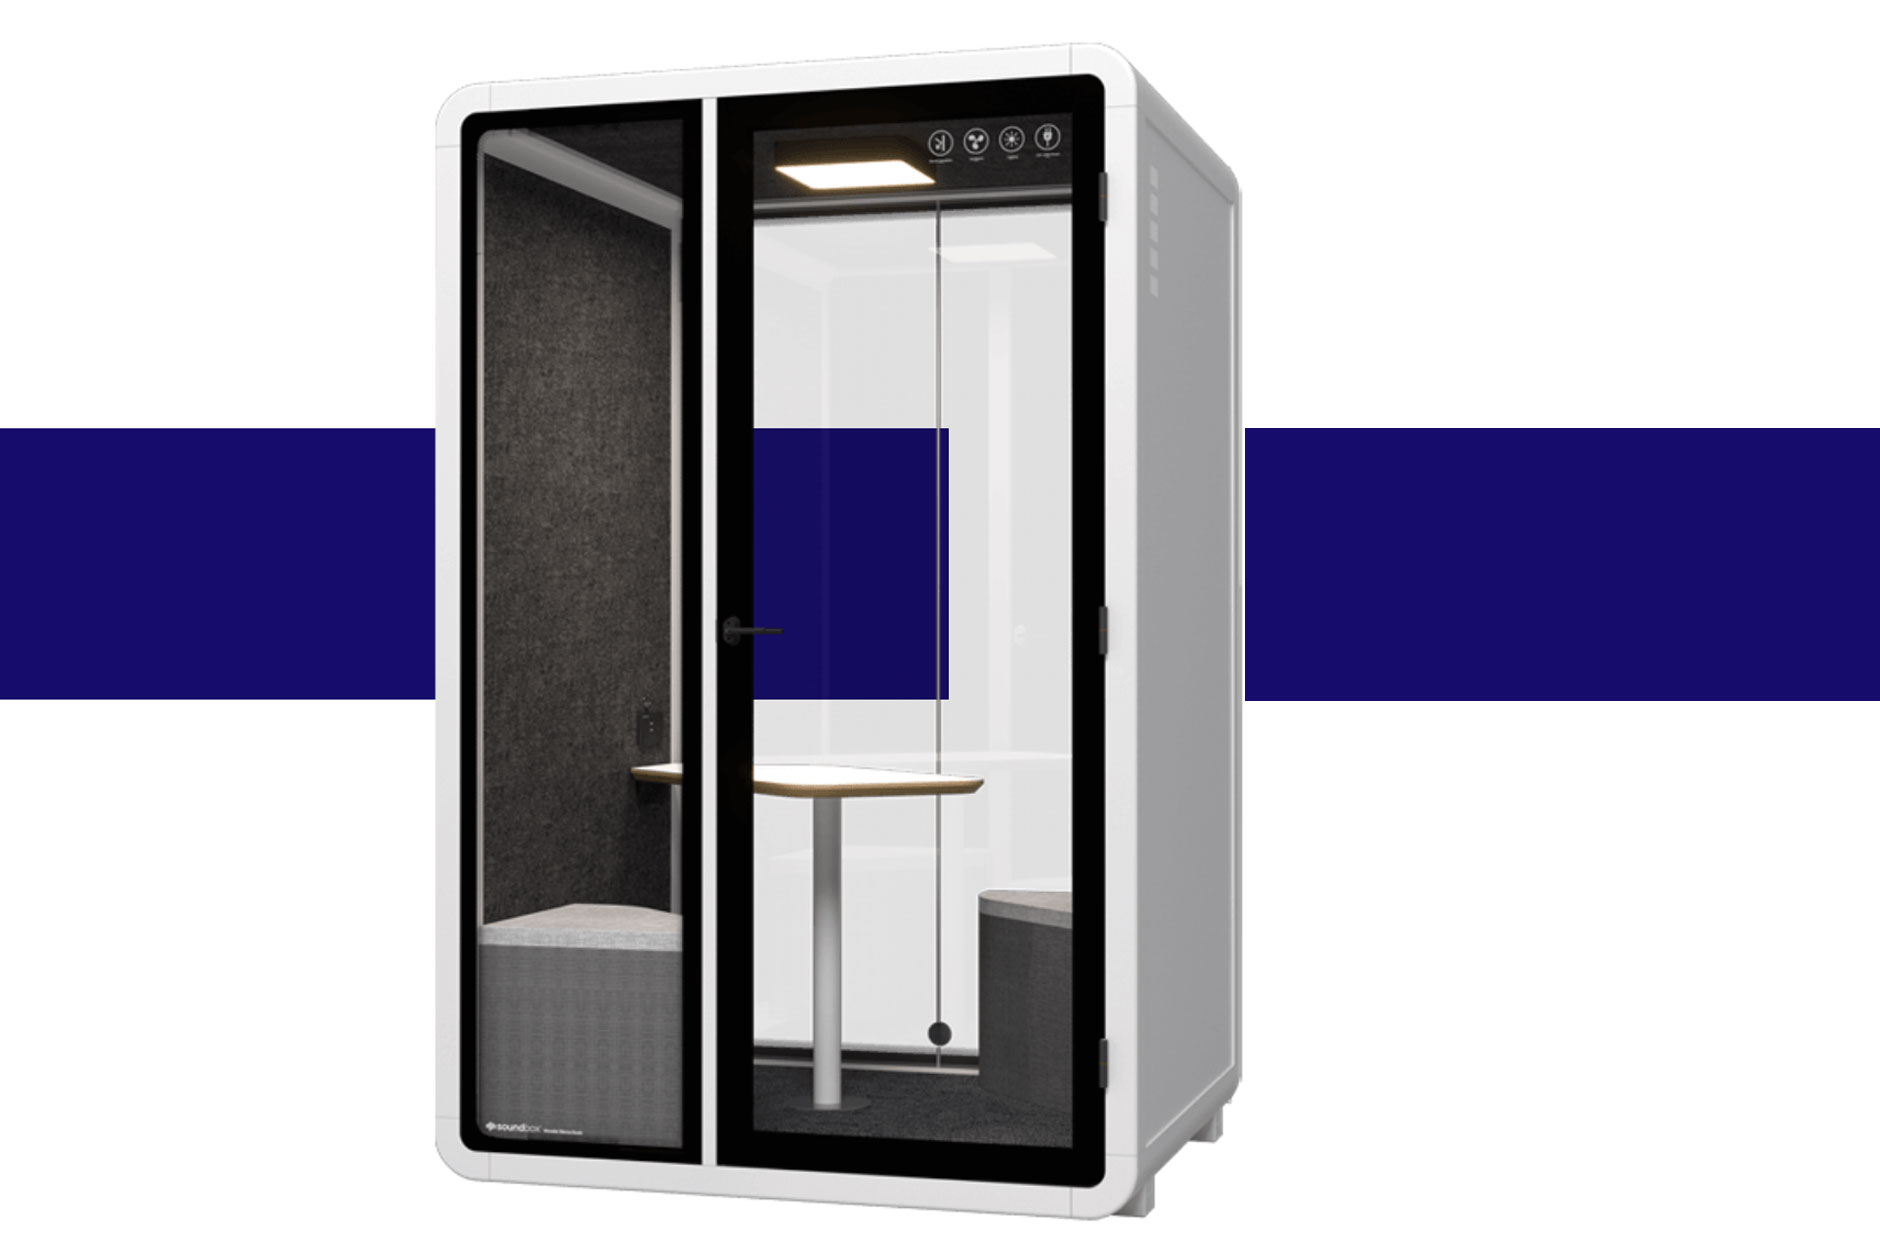
In a world full of noise – from clutter in office corridors to traffic outside – creating a calm, quiet space can be a significant challenge. Hence, if you are setting up a small private booth, a home office, a meeting room, or a music studio, noise-cancelling panels are essential.
For instance, the silence booth can magically block all sounds by absorbing and dispersing sound waves – preventing them from bouncing off hard surfaces like walls, floors, and ceilings, which otherwise cause echoes and the transmission of noise.
When properly installed, these noise-cancelling panels can –
- Drastically reduce echo and ambient noise.
- Improve the acoustics for recording, calls or focused work.
- Provide better privacy and sound control, and improve overall sound quality, especially for home offices or shared spaces.
- Modern noise-cancelling panels come in a variety of decorative designs that can help improve overall sound quality – without sacrificing interior design.
Planning the installation – where and how to place the noise-cancelling panels?
Before investing in any noise-cancelling panels, it is important to plan their placement. For this –
-
Identify reflection points
Sound tends to bounce off the first place it strikes. Such reflection points include – side walls, ceilings above the workstation, walls behind speakers, etc.
-
Plan coverage and distribution
For small rooms, opt for 4 to 6 panels to achieve noticeable improvements.
For larger spaces, open areas, or lounges, opt for wall and ceiling panels for even sound distribution.
For a rough estimate, aim to cover 20–30% of the total surface area (including walls and ceilings) to achieve a balanced acoustic improvement.
-
Consider complementary treatments
Panels are effective when paired with other sound-absorbing strategies, such as soft flooring (rugs or carpets), heavy curtains, furniture, etc.
For added benefits, consider acoustic treatments for doors, windows, etc., to block external noise.
What matters during placement?
Planning matters more than the volume of panels. Even a few well-planned placements at reflection points can yield better results than randomly placed panels.
Choosing experts like KTS Solutions helps to ensure balance and noise management. They may combine wall panels, ceiling treatments, soft surfaces, etc., for a holistic sound absorption. DIY solutions and placements may seem affordable at first but may not deliver desired improvements and better room acoustics.